
Perfect Creamy Cheesecake: A Timeless Dessert for Every Occasion
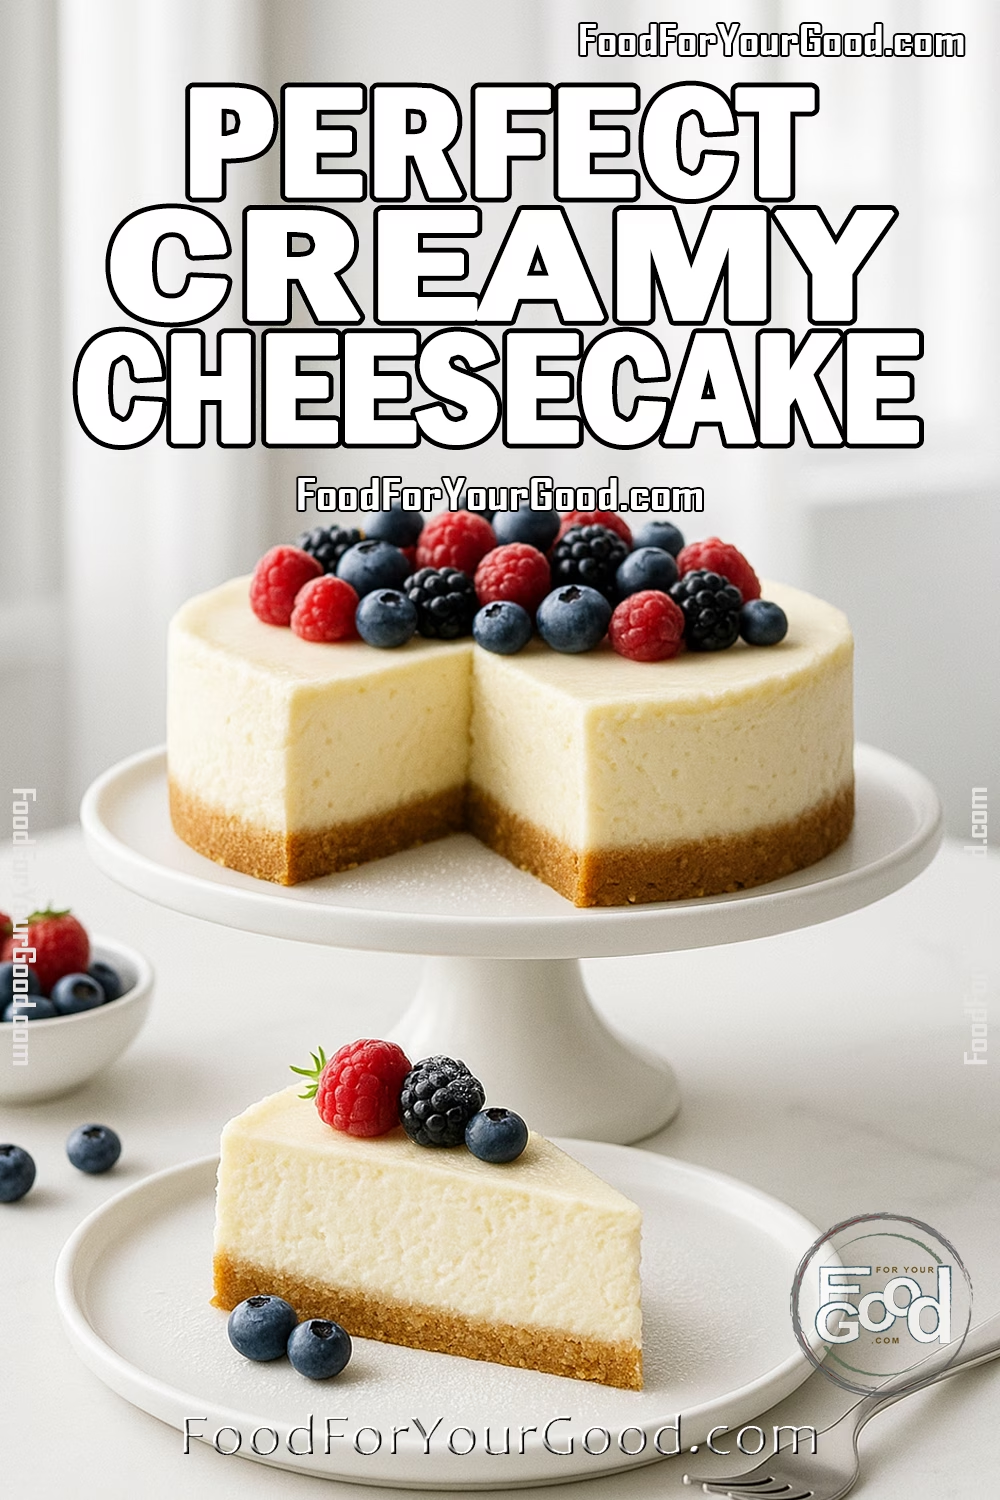
When it comes to dessert, few treats feel as luxurious and satisfying as a classic cheesecake. Whether you’re celebrating or simply craving something sweet, this Perfect Creamy Cheesecake delivers indulgence in every bite—without being overly complicated.
What makes this recipe special? It’s all about balance: a buttery graham cracker crust, a smooth and tangy cream cheese filling, and an optional sour cream topping with fresh berries for a polished finish. Each element complements the next, creating a dessert that’s both elegant and crowd-pleasing.
Although cheesecake has a reputation for being fussy, this version is surprisingly simple with a few key tips. Room-temperature ingredients ensure a velvety filling, while a water bath helps bake it gently—no cracks, just creamy perfection.
Even better, it’s a make-ahead wonder. Since it needs time to chill, you can prep it the day before your event and focus on other things. It slices beautifully, making it ideal for holidays, birthdays, or casual get-togethers.
Whether you’re a confident baker or just starting out, this recipe is easy to follow and delivers reliable, delicious results. Try it once, and it just might become your signature dessert.
INGREDIENTS
Crust:
1 ½ cups graham cracker crumbs
6 tbsp unsalted butter, melted
3 tbsp granulated sugar
Filling:
24 oz cream cheese, softened
1 cup granulated sugar
3 large eggs, room temperature
1 cup sour cream
1 tsp vanilla extract
¼ tsp salt
Topping (optional):
1 cup sour cream
2 tbsp powdered sugar
½ tsp vanilla extract
Fresh berries (strawberries, blueberries, blackberries, raspberries)
INSTRUCTIONS
1. Preheat the oven: Set the oven to 325°F. Prepare a 9-inch springform pan by greasing it lightly and wrapping the outside with foil to prevent leaks.
2. Make the crust: In a medium bowl, mix graham cracker crumbs, melted butter, and sugar until well combined. Press the mixture firmly into the bottom of the pan.
Bake for 10 minutes, then set aside to cool while you prepare the filling.
3. Prepare the filling: Using a stand mixer or handheld mixer on low speed, beat the cream cheese and sugar together until smooth and creamy, about 2 minutes.
Next, gradually add the eggs one at a time, mixing just until incorporated to avoid overbeating.
4. Add the remaining ingredients: Gently mix in the sour cream, vanilla extract, and salt until the batter is smooth and free of lumps.
Use a spatula to scrape the sides of the bowl for even mixing.
5. Assemble the cheesecake: Pour the filling over the cooled crust, spreading it evenly. Tap the pan gently on the counter to remove air bubbles.
6. Bake the cheesecake: Place the springform pan into a larger roasting pan. Carefully pour hot water into the roasting pan until it reaches halfway up the sides.
Bake for 60–70 minutes, or until the edges are set but the center is slightly jiggly.
7. Cool and chill: Turn off the oven and crack the door slightly. Let the cheesecake cool gradually in the oven for 1 hour.
Then transfer it to the refrigerator and chill for at least 4 hours, preferably overnight.
8. Prepare the topping (optional): In a small bowl, whisk together sour cream, powdered sugar, and vanilla until smooth.
Spread the topping over the chilled cheesecake, and decorate with fresh berries if desired.
9. Slice and serve: Carefully remove the cheesecake from the springform pan. Slice with a warm knife for clean cuts and serve—plain or topped with berries.
Helpful Tips to Perfect This Recipe
- Use room temperature ingredients: Always allow cream cheese, eggs, and sour cream to come to room temperature before starting. This simple step ensures a smooth batter, which helps create that signature creamy cheesecake texture.
- Prevent cracks with a water bath: While it may seem like an extra step, using a water bath (or bain-marie) keeps the cheesecake moist and prevents the dreaded surface cracks. Be sure to wrap the springform pan tightly with foil to avoid leaks.
- Chill for the best flavor and texture: Cheesecake needs time to set properly. After baking, let it cool gradually, then refrigerate it for at least 4 hours, or even overnight. This not only enhances the flavor but also makes slicing a breeze for clean, beautiful pieces.












Be the first to comment
Cooked it? 🍳 Loved it? ❤️ Changed it up? 🔄 Your opinion matters! Log in with Google or Facebook using the button below, share your foodie adventure, and let’s make cooking even more fun together! 🎉